Sub-Total: $0.00
How to create a sound healing studio space

How to create a sound healing studio space
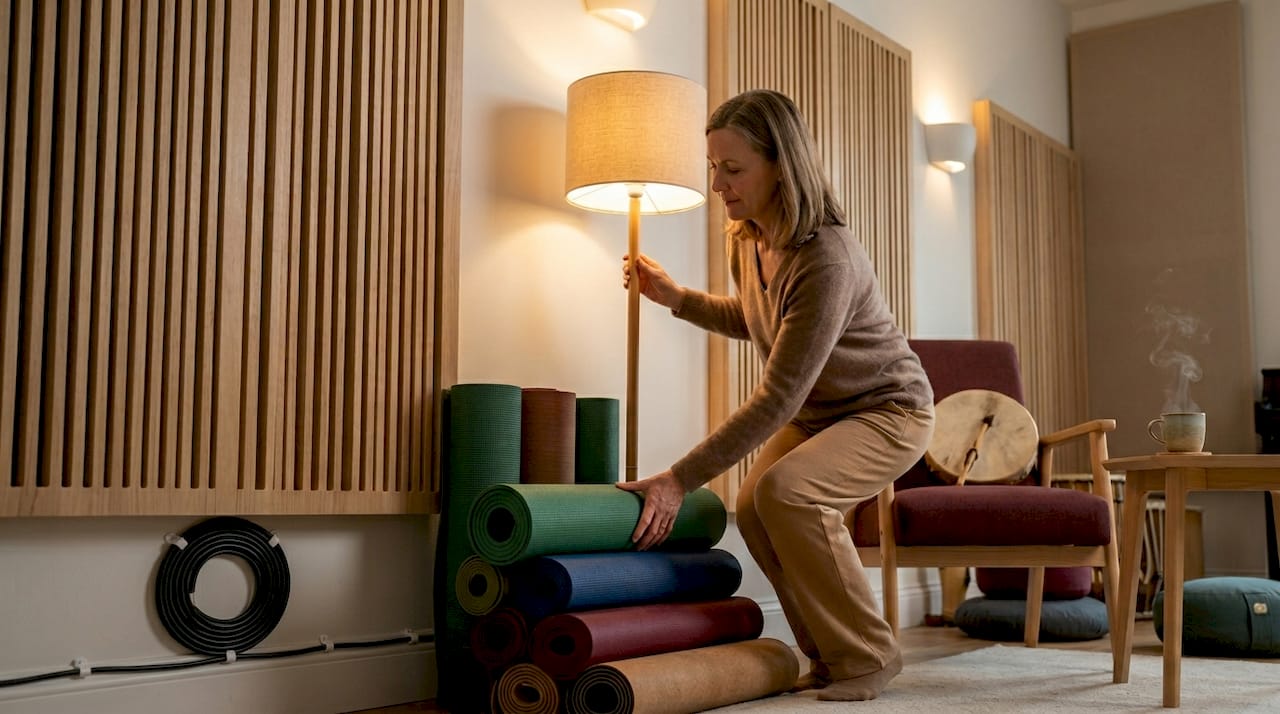
Transforming an ordinary room into a place where sound genuinely heals requires far more than scented candles and a singing bowl on a shelf. When you create a sound healing studio space, the decisions you make about acoustics, layout, and materials will determine whether participants leave feeling deeply restored or mildly underwhelmed. Sound therapy, the recognised clinical and wellness discipline behind practices like sound baths and vibroacoustic sessions, depends on the physical environment as much as the instruments themselves. Get it right, and the room becomes part of the experience.
Table of Contents
- Key takeaways
- Creating a sound healing studio space: acoustic foundations
- Space planning for group and solo sessions
- Step-by-step setup: instruments, lighting, and finishing touches
- Testing, troubleshooting, and optimising your studio
- Budgeting and operational planning
- My honest take on building a sound healing space
- Take your studio practice further with Soundbathtraining
- FAQ
Key takeaways
| Point | Details |
|---|---|
| Acoustics come first | Hard surfaces create muddy reverberation; natural absorption materials like wool and timber are non-negotiable. |
| Size and layout matter | Plan for 8 to 12 participants with adequate floor space, clear pathways, and comfortable props for every person. |
| Instruments shape the room | Placement relative to walls and participants affects perceived vibration, immersion, and overall sound quality. |
| Test before you launch | Run soft sessions and gather feedback before opening fully, adjusting panels and positions iteratively. |
| Budget for the long term | High upfront costs and multi-year breakeven periods mean staged launches and careful financial planning are wise. |
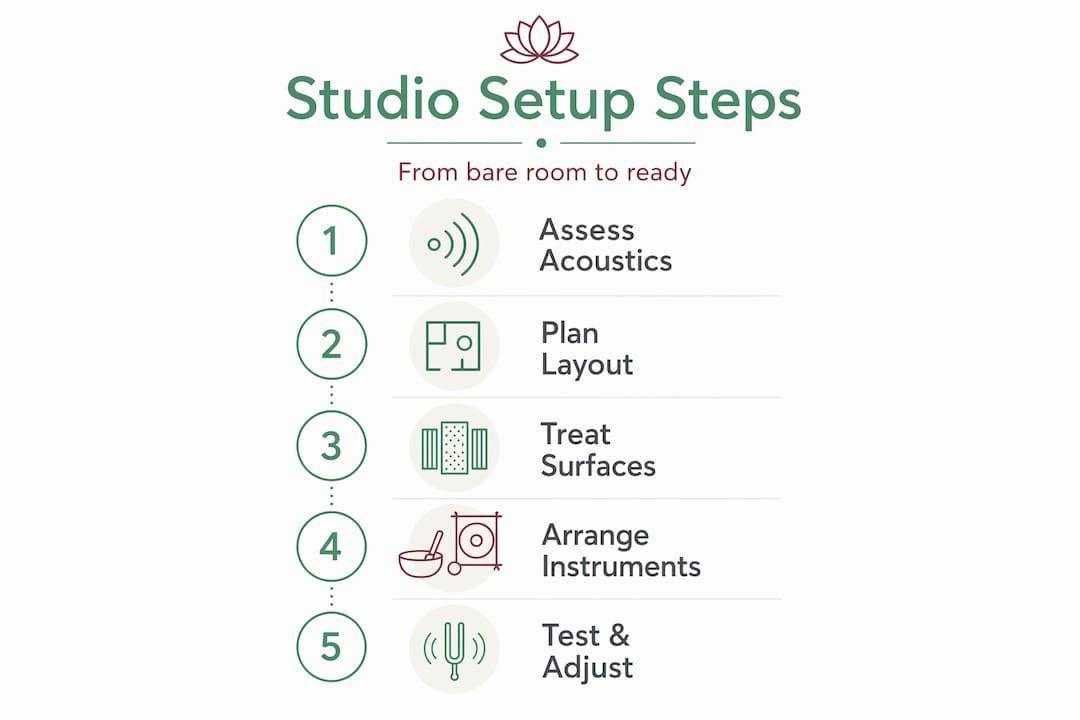
Creating a sound healing studio space: acoustic foundations
Acoustic suitability in a sound healing room depends on balancing absorption and diffusion to control reverberation and keep sound clear. This is the single most important principle in sound therapy studio design, and it is where most beginners go wrong.
Why reverberation time matters
Reverberation time is how long a sound takes to decay after the source stops. In a sound bath, you want a moderate reverberation that lets overtones bloom without becoming a muddy wash. Rooms with hard surfaces such as tile, bare concrete, or large glass panels have longer reverberation times, which causes harmonics to collide and lose definition. The result is a session that feels chaotic rather than calming.
The fix is not to deaden the room completely. Too much absorption produces a flat, lifeless sound that strips the instruments of their resonance. You are aiming for balance.
Materials that work
- Timber wall panels or slatted wood scatter sound evenly and add natural warmth to the room’s tone
- Dense wool or commercial carpet tiles on the floor absorb low-frequency energy without killing mid-range overtones; washable dense wool is strongly preferable to thin rugs or bare hard floors
- Fabric wall hangings or acoustic panels wrapped in natural fabric reduce flutter echo on parallel walls
- Ceiling clouds made from suspended acoustic foam or timber slats manage reflections from above without closing the room in visually
| Surface type | Acoustic effect | Recommendation |
|---|---|---|
| Bare concrete or tile | Long reverberation, muddy overtones | Avoid or cover fully |
| Thin rug on hard floor | Minimal absorption, still reflective | Replace with dense wool or carpet tiles |
| Timber slat panelling | Balanced diffusion and absorption | Highly recommended |
| Heavy fabric panels | Strong mid and high absorption | Use on parallel walls |
| Acoustic ceiling clouds | Controls overhead reflections | Recommended for rooms over 3 metres high |
Pro Tip: Clap your hands sharply in the empty room before installing anything. A long, fluttery echo means you need more diffusion. A very short, dead thud means you have over-absorbed and need to remove some treatment.
Space planning for group and solo sessions
Once the acoustic shell is sorted, you need to think about how people will actually occupy the room. Established providers recommend sound healing spaces hold 8 to 10 people for yoga with sound and up to 12 for dedicated sound healing sessions. That is a useful benchmark when you are deciding whether your chosen room is genuinely fit for purpose.
Here is a practical process for planning your layout:
- Calculate your usable floor area. Allow a minimum of 1.8 square metres per person when lying down, plus additional clearance around the perimeter for the facilitator to move freely with instruments.
- Position mats before you finalise anything else. Lay them out in a star or spoke pattern radiating from the centre, with heads pointing inward or outward depending on your preferred facilitation style. This affects how each participant receives sound from different instruments.
- Designate instrument zones. Singing bowls, gongs, and chimes each need their own footprint. Keep them accessible without requiring you to step over participants mid-session.
- Add comfort props. Mats, bolsters, eye pillows, blankets, and zero-gravity chairs for those who cannot lie flat are not optional extras. Supporting participant comfort with appropriate props increases perceived safety and relaxation, enabling a deeper experience overall.
- Check pathways. Every participant must be able to enter and exit without disturbing others. Keep at least one clear corridor of 90 centimetres to the door.
Pro Tip: Photograph your layout from above using a step ladder or a phone on a selfie stick before your first session. What looks spacious at eye level often reveals crowding from above, particularly around instrument stands.
Step-by-step setup: instruments, lighting, and finishing touches
With the acoustic treatment in place and the layout mapped, you can move to the physical build. This is where sound therapy studio design meets healing space decor ideas, and where the atmosphere of the room takes shape.
Selecting your instruments
Start with the instruments that will anchor your practice. Crystal singing bowls, Tibetan bowls, gongs, and chimes are the most common. Each has a different projection pattern and frequency range, which affects where you place them relative to participants and walls.
Instrument distance affects perceived vibration and immersion significantly. Facilitators typically begin with instruments positioned further from participants and adjust based on how the room reflects and decays the sound. The room itself becomes part of the instrument, which is why treating the room like an instrument to be tuned through surface treatments and spatial layout is a principle used in professional sensory architecture.
Lighting and ambience
Warm, dimmable lighting is non-negotiable. Overhead fluorescent strips are the enemy of relaxation. Instead, use:
- Indirect LED strips behind cornices or under furniture for a soft ambient glow
- Dimmable warm-white floor lamps positioned away from participant sightlines
- Himalayan salt lamps or candle-effect LEDs for visual warmth without flicker risk
Avoid anything that hums electrically. Participants in deep relaxation are acutely sensitive to background noise, and a buzzing transformer will undermine even the best acoustic setup.
Cable management and safety
Run all power cables along skirting boards and secure them with cable clips. Use rubber cable covers across any floor areas that people walk through. A tidy room is not just aesthetically pleasing. Clutter creates harsh sound reflections, and clutter also creates harsh reflections while too much absorption makes sound flat. Both extremes compromise the session.
Pro Tip: Install a smart plug timer on your ambient lighting so the room reaches its intended atmosphere 20 minutes before participants arrive. First impressions of a healing space are set the moment someone opens the door.
Testing, troubleshooting, and optimising your studio
Your first setup will not be perfect. That is not a failure. It is the beginning of a calibration process that every serious practitioner goes through.
Start with a solo sound test before any participants enter. Play each instrument in its intended position and walk around the room while it sustains. Listen for:
- Muddiness in corners, which indicates standing waves caused by parallel reflective surfaces
- Harsh high-frequency ring near hard walls, which suggests you need diffusion rather than absorption in that area
- Dead spots where the sound drops off, which may mean an instrument needs repositioning or a reflective surface needs to be added
“The room is not just a container for the sound. It is a collaborator. When you learn to hear what the room is doing to your instruments, you stop fighting the space and start working with it.”
Once you have run solo tests, host a small soft-launch session with trusted friends or colleagues. Gather specific feedback: did the sound feel overwhelming at any point, were there areas of the room that felt less immersive, and was the temperature comfortable throughout? Thermal comfort is often overlooked. A room that is too cold will prevent participants from relaxing, regardless of how good the acoustics are.
Adjust acoustic panels and instrument positions iteratively after each test session. Small changes, such as moving a gong 30 centimetres closer to a wall or adding a single fabric panel behind a reflective surface, can produce noticeable improvements.
Budgeting and operational planning
The financial reality of setting up a dedicated sound therapy room deserves honest attention. A 2026 business plan for a meditative sound therapy studio estimates initial capital expenditure exceeding one million pounds for a fully fitted commercial operation, with monthly rent around £18,000 and breakeven projected around year five. That is the high end of the spectrum, but it illustrates why new studio operators benefit from staged approaches given high upfront costs and expected multi-year negative returns before breakeven.
For a smaller private or semi-commercial studio, costs are far more manageable. Flexible studio rentals of nearly 800 square feet are available at around $400 per hour minimum for private wellness use, which is a practical option while you build your client base before committing to a permanent lease.
| Cost category | Typical range | Notes |
|---|---|---|
| Acoustic treatment | £500 to £3,000 | Panels, carpet tiles, ceiling clouds |
| Instruments (starter set) | £800 to £4,000 | Bowls, gong, chimes |
| Lighting and decor | £300 to £1,500 | Dimmers, lamps, soft furnishings |
| Insurance and liability | £200 to £600 per year | Public liability minimum £1 million |
| Studio rental (if not owned) | Variable | Hourly or monthly lease |
On insurance: some studios require a Certificate of Insurance for £1 million liability naming the venue as additionally insured. Arrange this before your first session, not after. It is a common operational bottleneck that delays launches unnecessarily.
Staged multi-day openings for group sessions and workshops are a sensible way to validate your room’s flow, your booking process, and participant experience before committing to a full schedule.
Pro Tip: Before signing any lease, ask the landlord for permission to install acoustic treatment. Some commercial leases prohibit wall fixings or alterations without written consent, and retrofitting a room you cannot modify is an expensive dead end.
My honest take on building a sound healing space
I have seen practitioners spend thousands on crystals, plants, and artisan decor, then wonder why their sessions feel flat. The biggest factor for sound bath quality is acoustic behaviour. Aesthetics alone do not suffice. A beautiful room with bare concrete walls will undermine every instrument you play in it.
What I have learned is that the most effective studios I have worked in treat the space as a living instrument. The walls, floor, ceiling, and even the furniture all contribute to how sound moves and settles. When you start thinking that way, every decision, from the thickness of your carpet tiles to the position of a single gong, becomes a deliberate tuning choice rather than an afterthought.
The other thing I would say is this: do not wait for perfection before you open. Your first sessions will teach you more about your room than any amount of planning. Embrace the imperfection, listen carefully, and adjust. The practitioners who build the most resonant spaces are the ones who keep iterating long after the opening day.
— Sarah
Take your studio practice further with Soundbathtraining
If you are ready to move beyond the setup and develop the skills to run genuinely transformative sessions, Soundbathtraining offers accredited, hands-on training designed specifically for people at this stage.
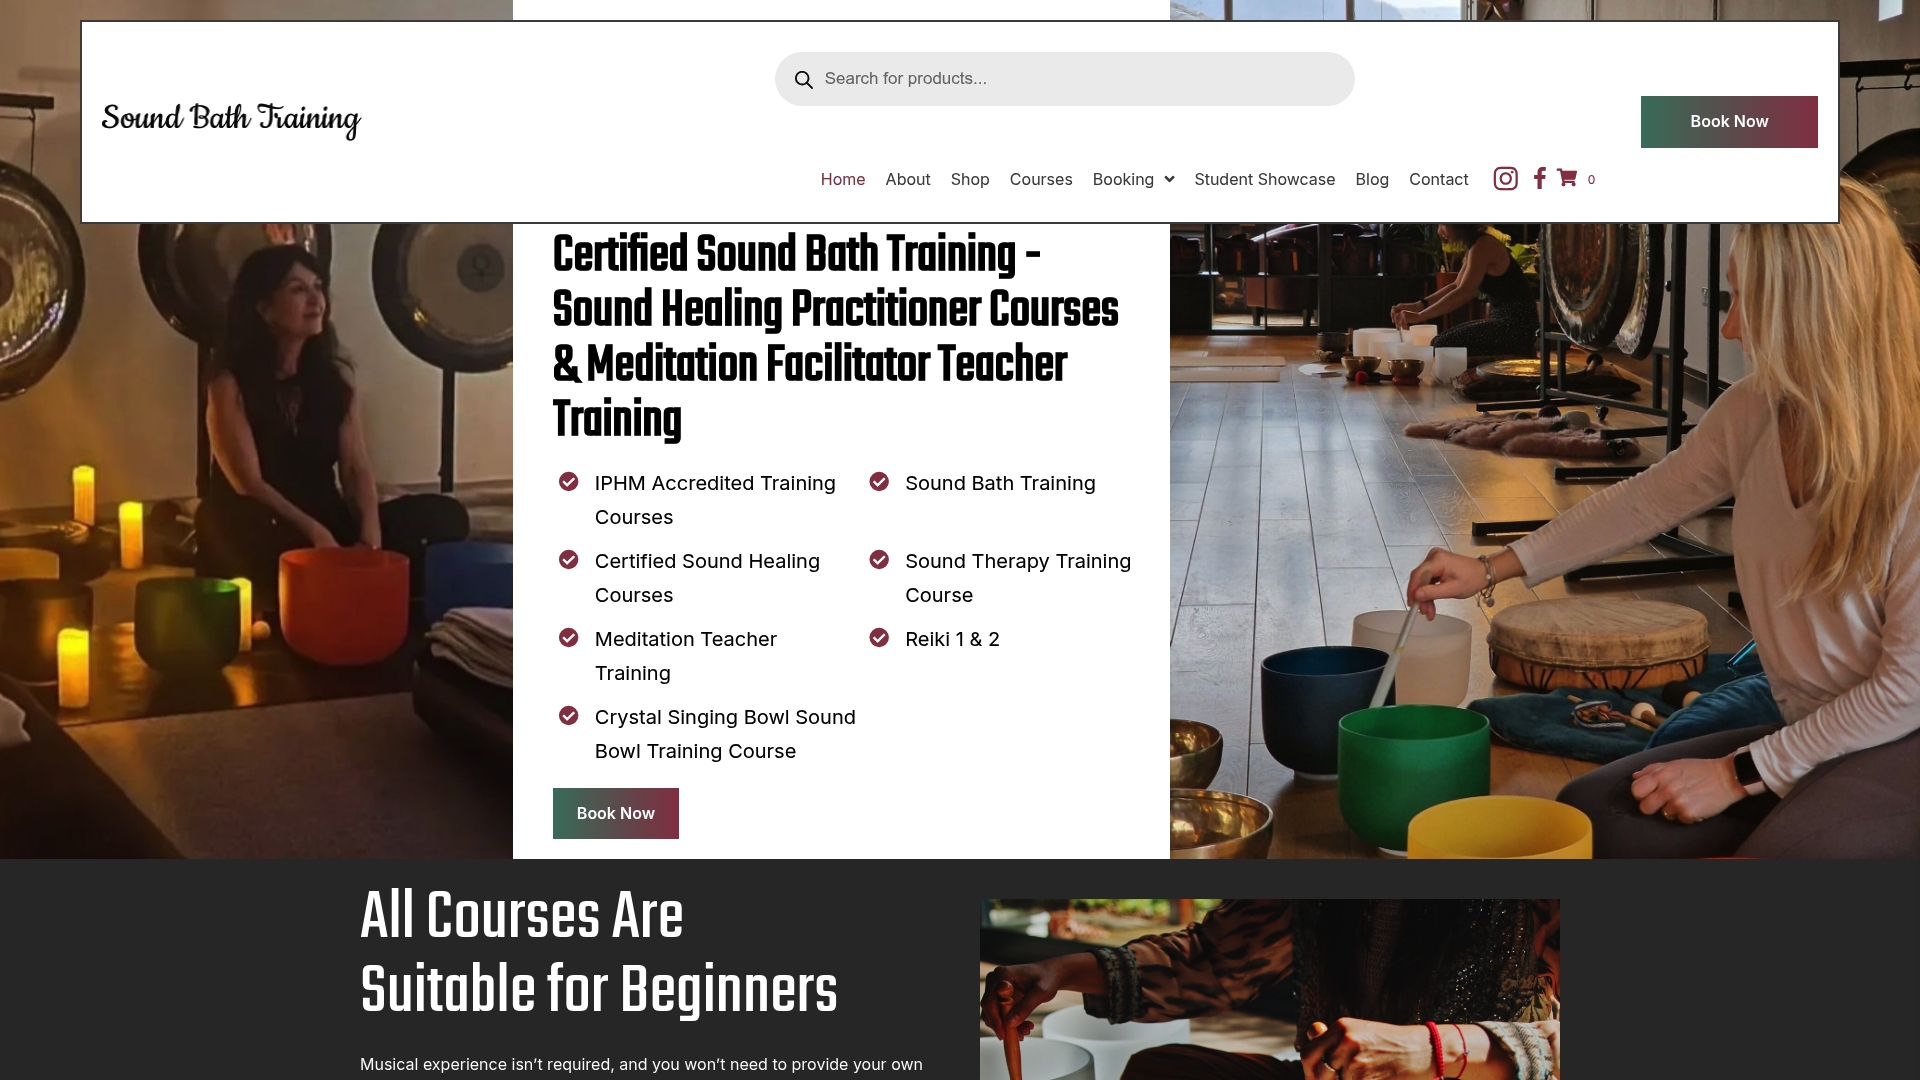
Whether you are drawn to working with crystal singing bowls through a focused instrument course or want the full practitioner toolkit through an accredited 4-day programme, the training is built around practical experience in a real studio environment. No prior musical background is required. You learn by doing, with a high instructor-to-trainee ratio that gives you the individual attention your development deserves. Browse all available sound healing courses to find the right starting point for where you are now.
FAQ
What room size do I need for a sound healing studio?
Plan for a minimum of 1.8 square metres per person lying down, plus clearance for the facilitator. Most group sessions accommodate 8 to 12 participants comfortably.
What acoustic materials work best for a sound therapy room?
Dense wool or commercial carpet tiles on the floor, timber slat panelling on walls, and suspended acoustic ceiling clouds provide the best balance of absorption and diffusion for sound healing.
Do I need insurance to run sound healing sessions?
Yes. Public liability insurance of at least £1 million is standard, and venues you rent may require you to name them as an additionally insured party on your policy before your first session.
How do I test whether my studio acoustics are good enough?
Clap sharply in the empty room and listen for flutter echo. Then play each instrument in position and walk the room, listening for muddy corners, harsh reflections near hard walls, or dead spots where sound drops off.
Can I start with a rented studio rather than my own space?
Absolutely. Renting an existing wellness studio by the hour is a practical way to build your client base and refine your session format before committing to a long-term lease or full fit-out.
Recommended
- Courses Archive | Sound Bath Training
- Accredited Sound Healing Practitioner Training Course (all instruments) With Sound Therapy 1:1 – 4 Days | Sound Bath Training
- Accredited Sound Healing Practitioner Training Course (all instruments) – 3 Days | Sound Bath Training
- Courses | Sound Bath Courses by Sound Bath Training