
Sub-Total: $0.00
Sound bath at home setup guide: start simply
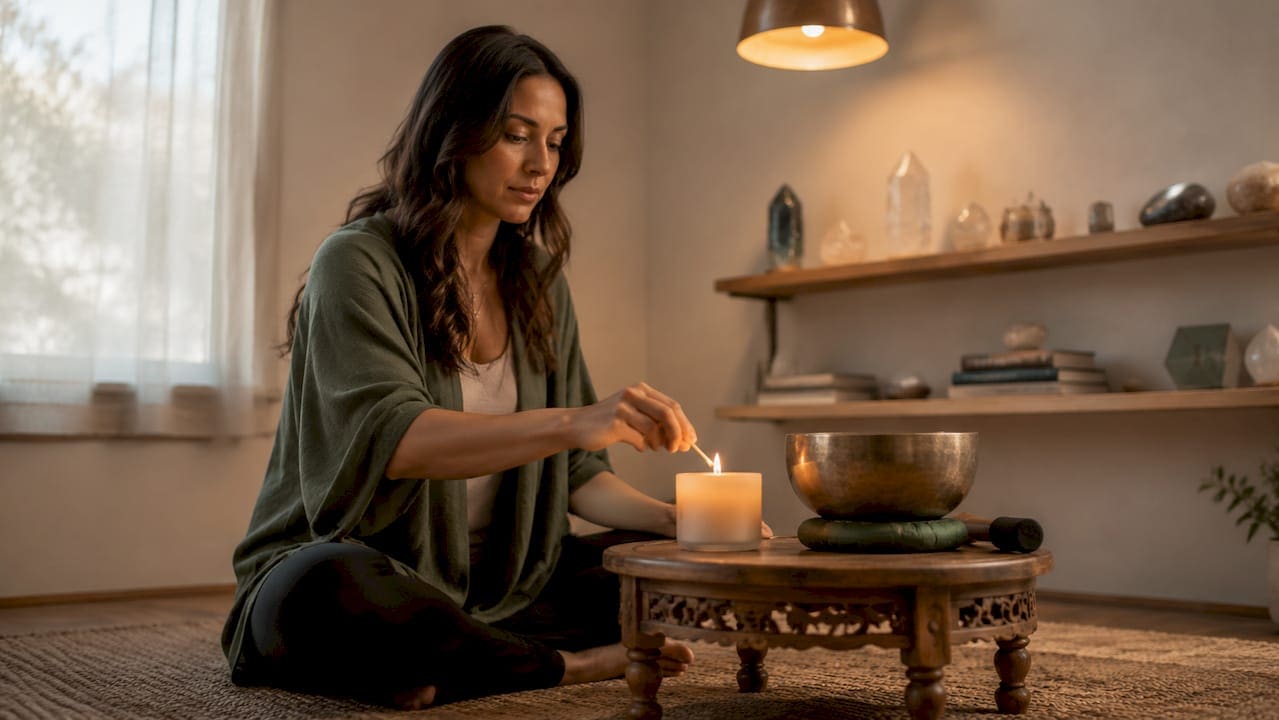
Sound bath at home setup guide: start simply
A sound bath is an immersive sound meditation experience in which you lie or sit comfortably while sound waves from instruments like singing bowls, tuning forks, or chimes wash over you. This sound bath at home setup guide covers every practical step, from choosing your first instrument to managing your room acoustics, so you can create a genuinely restorative session without a professional studio. Sessions typically run 20–60 minutes and need only three things: a quiet space, a comfortable surface, and one primary sound source. That simplicity is the point.
What equipment do you need for a home sound bath setup?
The core of any sound healing setup is the instrument you choose first. Singing bowls are the most widely used starting point. Tibetan singing bowls produce warm, sustained tones when struck or rimmed with a mallet. Crystal singing bowls generate a purer, higher-frequency resonance and are particularly popular in contemporary sound therapy practice. Tuning forks offer precise single-note vibrations and are easy to use in a small space. Wind chimes and koshi chimes add delicate, ambient layers without requiring any technique.
Experts advise choosing fewer, high-quality instruments over a large collection of mediocre ones. The reasoning is straightforward: a single well-made Tibetan bowl in the key of C will produce more therapeutic resonance than five cheap bowls that clash tonally. Matching instrument keys so they complement each other is the single most overlooked step in a beginner’s sound bath equipment starter setup.

Instrument comparison: which tool suits you?
| Instrument | Sound character | Best for | Approximate cost |
|---|---|---|---|
| Tibetan singing bowl | Warm, earthy, sustained | Grounding, beginners | Low to mid range |
| Crystal singing bowl | Clear, high-frequency | Deep relaxation, meditation | Mid to high range |
| Tuning fork | Single precise tone | Focused body work | Low range |
| Koshi chime | Soft, ambient, airy | Layering, gentle openings | Low range |
| Drum (frame drum) | Deep, rhythmic pulse | Grounding, trance states | Mid range |
Budget-friendly alternatives exist for every category. A quality sound healing app such as Insight Timer or Calm provides high-fidelity recordings of bowls and chimes when you are not ready to invest in physical instruments. These work well as a secondary layer beneath a live bowl. For accessories, you need a suede or felt mallet for your bowl, a cushion or O-ring to rest it on, and a yoga mat or folded blanket for your lying position.
Pro Tip: Buy one instrument you genuinely love the sound of before buying a second. Spend time with it daily for two weeks. You will understand its tonal range far better than if you buy three instruments at once.
If you want deeper guidance on choosing singing bowls for personal use, Soundbathtraining has a dedicated practical guide covering size, material, and tonal range.
How do you prepare your home environment for a sound bath?
The room matters more than most people expect, but not for the reasons they assume. Consistency and the ability to relax matter far more to your nervous system than room aesthetics. A bedroom corner with a thick rug and drawn curtains outperforms a bare, echoing living room every time.
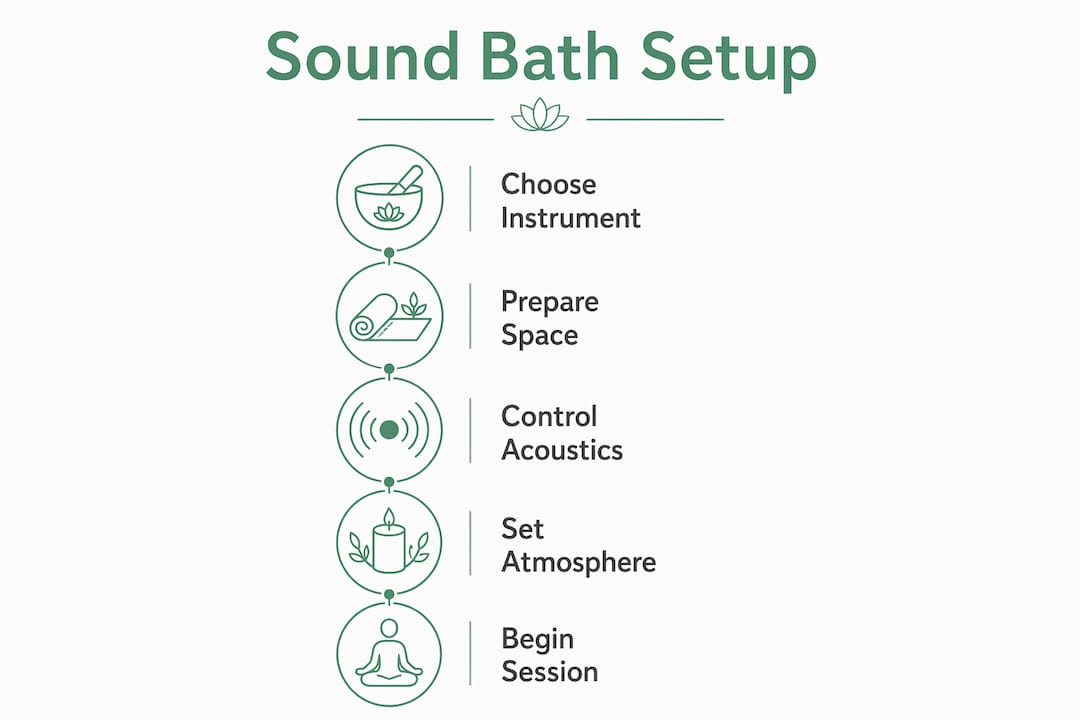
Acoustic and sensory essentials
Start with sound containment. Rugs, thick curtains, upholstered furniture, and bookshelves all absorb sound and reduce the sharp reflections that make a room feel harsh. Scheduling sessions during quiet daytime hours and positioning your instruments away from shared walls reduces the chance of disturbing neighbours significantly. If your walls are thin, sealing gaps with weatherstripping around doors adds a useful layer of containment.
Lighting deserves specific attention. Standard LED bulbs and cheap transformers emit a high-pitched whine that is inaudible in a noisy room but becomes distracting in a silent sound bath. Silent LED drivers or candles eliminate this problem entirely. Dimmer switches fitted with quality drivers are the most practical long-term solution.
Here is a clear split between what you need and what is simply nice to have:
Must-haves:
- A room or corner where you will not be interrupted for 20–60 minutes
- A soft surface to lie on (yoga mat, folded blankets, or a low futon)
- Rugs or soft furnishings to absorb sound reflections
- Lighting that does not emit electrical noise (candles or quality LED drivers)
- A door you can close
Nice-to-haves:
- An essential oil diffuser with lavender or frankincense
- A weighted blanket for deeper body relaxation
- Blackout curtains for daytime sessions
- A small Bluetooth speaker for ambient drone tracks
- A low table or tray to hold instruments within easy reach
Pro Tip: Turn off your router and put your phone on aeroplane mode before you begin. Notification sounds and Wi-Fi radio pulses are the most common session disruptors, and they are entirely avoidable.
Step-by-step: how to set up and run your home sound bath
A well-ordered setup takes less than ten minutes once you have done it a few times. Follow this sequence for a smooth, immersive session.
- Prepare your space. Lay your mat or blanket in the centre of the room, away from walls. Place your instrument on its cushion or O-ring within arm’s reach to your right side.
- Sort your lighting and scent. Light a candle or switch to your silent-driver lamp. If you use a diffuser, start it five minutes before you lie down so the scent is already present when you begin.
- Set a timer. Use a gentle alarm tone, not a jarring ringtone. Twenty minutes is a good starting length. This removes the mental distraction of clock-watching.
- Begin with breath. Lie down and take five slow, deep breaths before you touch any instrument. This signals to your nervous system that the session has started.
- Open with a single tone. Strike your bowl once and let the sound decay fully before striking again. Resist the urge to fill silence. Silence is part of the practice.
- Layer gradually. After five minutes with your primary instrument, introduce a second sound if you have one, such as a chime or a low drone track. Keep the volume of any recorded audio lower than your live instrument.
- Include a body scan. At the midpoint, pause playing and guide yourself mentally from your feet to the crown of your head, noticing where tension sits. Resume playing softly after one minute.
- Close with silence. In the final two minutes, reduce the frequency of strikes. Let the last tone decay completely. Lie in silence for at least two minutes before moving.
- Rise slowly. Roll to one side, pause, then sit up. Drink water. Note any sensations or thoughts in a journal if that appeals to you.
For structured session ideas, the sound meditation beginner’s guide from Soundbathtraining offers clear frameworks you can adapt directly to a home practice.
How do you troubleshoot common home sound bath problems?
Most problems in a home sound healing setup fall into three categories: sound leakage, sensory overload, and electronic interference. Each has a practical fix.
“The goal is not a perfect studio. The goal is an uninterrupted 30 minutes where your nervous system can let go.”
Sound leakage is the most common concern for flat and terrace house dwellers. Playing at a moderate volume and keeping your bowl away from shared walls solves most of it. Adding a thick rug beneath your mat absorbs floor vibration, which travels further than airborne sound.
Sensory overload happens when you introduce too many instruments or too much recorded audio too quickly. The fix is restraint. One live instrument plus silence is more powerful than four instruments competing for attention. Vibro-acoustic transducers attached to your mat or chair offer a way to deepen physical immersion without increasing volume. These devices translate sound into physical vibration, letting your body feel the frequencies rather than just hear them.
Cable management is frequently neglected in home setups. Loose cables from speakers, lamps, or diffusers create trip hazards and visual clutter that breaks the sense of sanctuary. A simple cable box or a few velcro ties costs very little and makes a real difference to how the space feels.
- Keep all cables routed along skirting boards or tucked under rugs
- Use a single power strip with a switch to cut all electronics at once
- Test your room in silence for two minutes before each session to catch any electrical hum
- If a neighbour is likely to be home, choose instruments with a softer attack, such as a koshi chime rather than a frame drum
Key takeaways
A successful home sound bath requires quality over quantity in instruments, a sound-absorbent room, and consistent practice rather than a perfect setup.
| Point | Details |
|---|---|
| Start with one quality instrument | A single well-tuned singing bowl outperforms a collection of mismatched, cheaper ones. |
| Match your instrument keys | Tonally compatible instruments create a harmonious soundscape that supports deeper relaxation. |
| Prioritise room acoustics | Rugs, curtains, and soft furnishings matter more than room size or décor. |
| Eliminate electronic noise | Use silent LED drivers or candles to prevent high-frequency hum disrupting your session. |
| Consistency beats perfection | A regular 20-minute practice in a modest space delivers more benefit than an occasional elaborate session. |
What I have learned from setting up sound baths at home
The biggest mistake I see people make is waiting until everything is perfect before they start. They want the right bowl, the right room, the right lighting. Meanwhile, weeks pass and they have not practised once. The truth is that a folded blanket on a bedroom floor and a single Tibetan bowl is enough to begin.
What actually builds a meaningful home practice is ritual, not equipment. The act of rolling out your mat, lighting a candle, and taking those five opening breaths tells your nervous system something important is about to happen. That signal compounds over time. After a few weeks, your body begins to relax before you even strike the bowl.
Sound quality matters, but quantity does not. I have heard sessions with twelve instruments that felt chaotic and sessions with one bowl and silence that felt profound. The difference was intention and restraint. If you are curious about how sound practice connects to deeper personal growth, the sound meditation and spiritual growth resource from Soundbathtraining explores that territory well.
Start with what you have. Evolve the setup as your practice deepens. The space will grow with you.
— Sarah
Take your practice further with Soundbathtraining
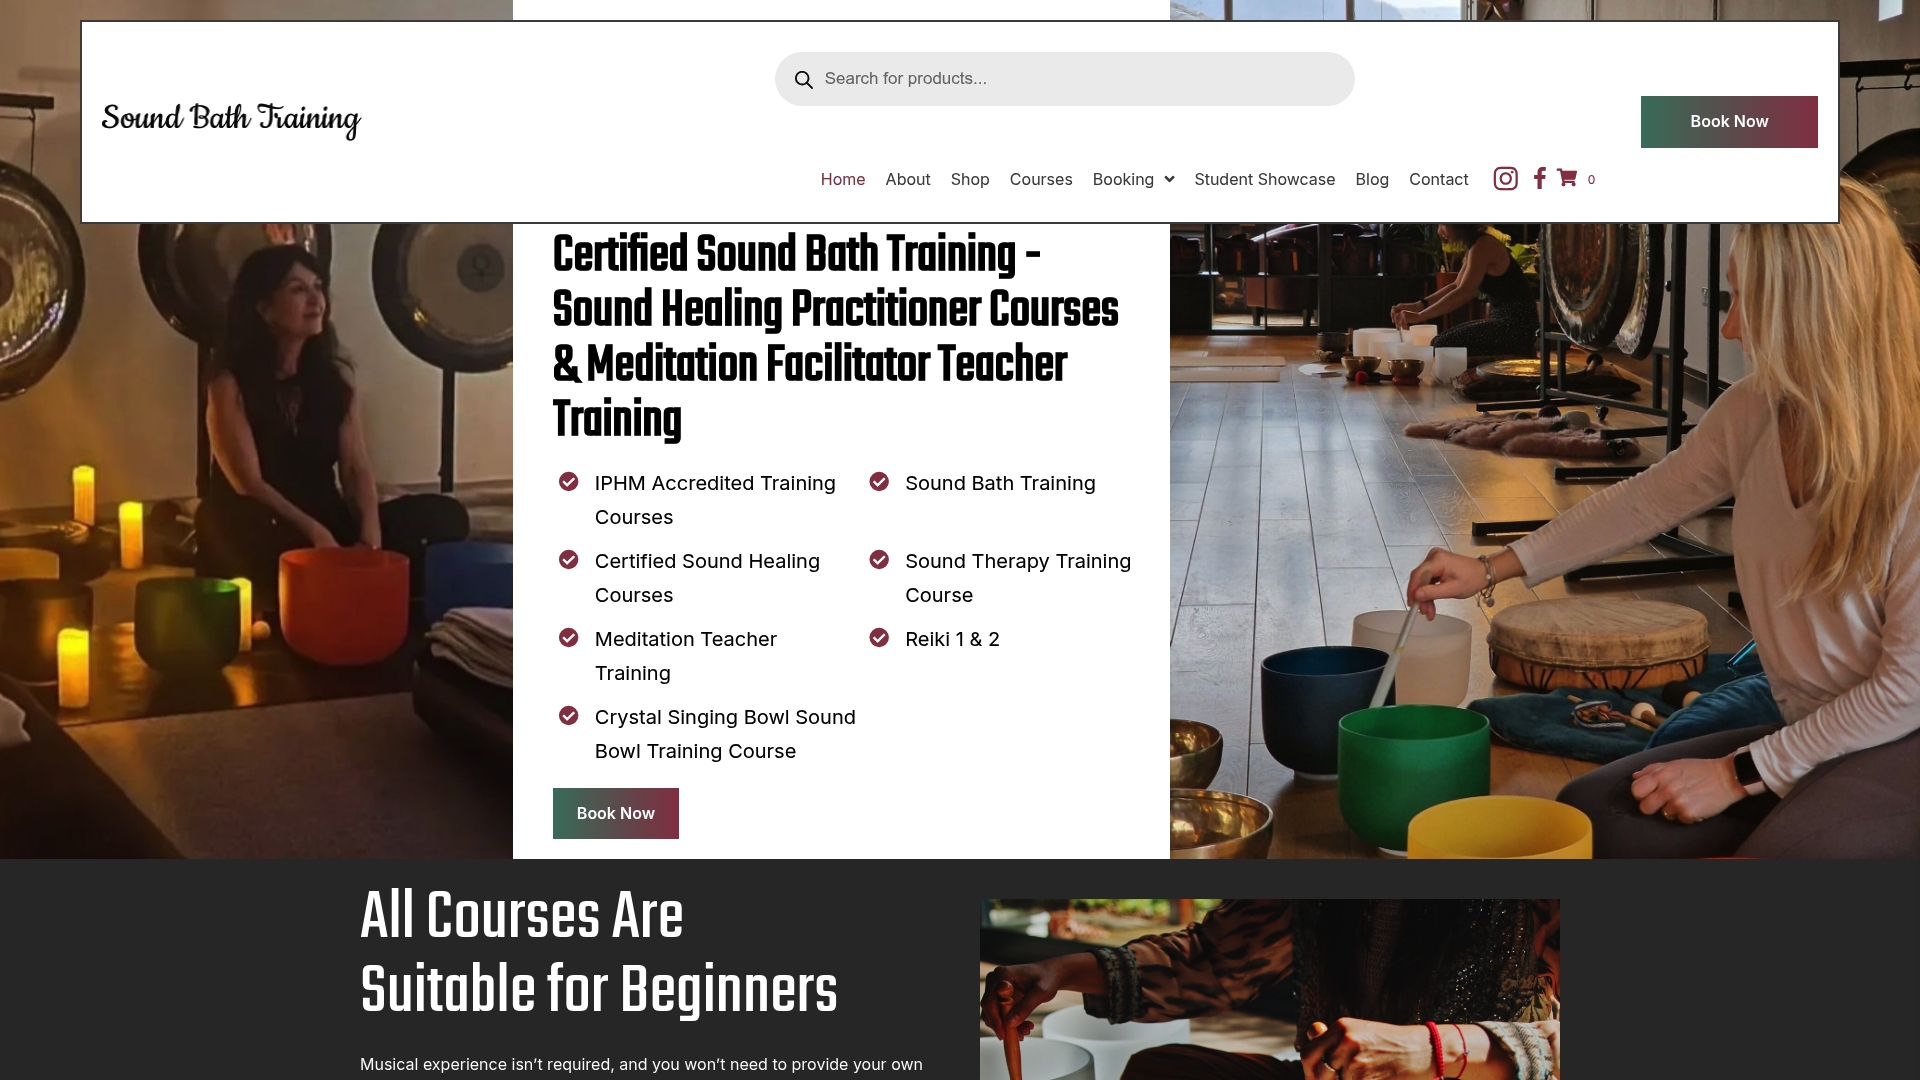
A personal home practice is a powerful starting point. When you are ready to deepen your skills, work with professional instruments, and learn from accredited practitioners in a small-group setting, Soundbathtraining offers the next step. Their IPHM accredited courses are designed for people with no prior musical background, and every participant works with a full set of crystal bowls from day one. No waiting for your turn. No generic large-group format. The accredited sound healing practitioner training covers all instruments across four days, combining sound bath technique with broader wellness practice. If you prefer a shorter commitment, the three-day practitioner course delivers foundational certification with the same hands-on approach.
FAQ
What instruments do I need to start a home sound bath?
One quality singing bowl, a mallet, and a cushion to rest it on is all you need to begin. Tuning forks and koshi chimes are useful additions once you are comfortable with your primary instrument.
How long should a home sound bath session last?
Sessions range from 20 to 60 minutes, with 20–30 minutes being the most practical starting length for beginners. Consistency across shorter sessions builds more benefit than occasional longer ones.
How do I stop my sound bath disturbing my neighbours?
Schedule sessions during quiet daytime hours and position instruments away from shared walls. Adding rugs, thick curtains, and door draught excluders reduces sound leakage significantly.
Do I need a dedicated room for a home sound bath?
No. Any quiet space where you can rest undisturbed is sufficient. A bedroom corner with soft furnishings works as well as a dedicated studio for personal practice.
What is the difference between a sound bath and sound meditation?
A sound bath is a specific format of sound meditation for beginners in which you receive sound passively while lying still. Sound meditation is a broader term that includes active listening, breathwork, and guided visualisation alongside sound.